

Two helmets can look equally suitable: one appeals for its ventilation, the other for its MIPS system. Yet neither belongs on your shortlist until you have confirmed the right size, a stable fit and relevant safety-standard marking. This decision tree shows you what to rule out first, what to try in person and which features are worth comparing only afterwards.
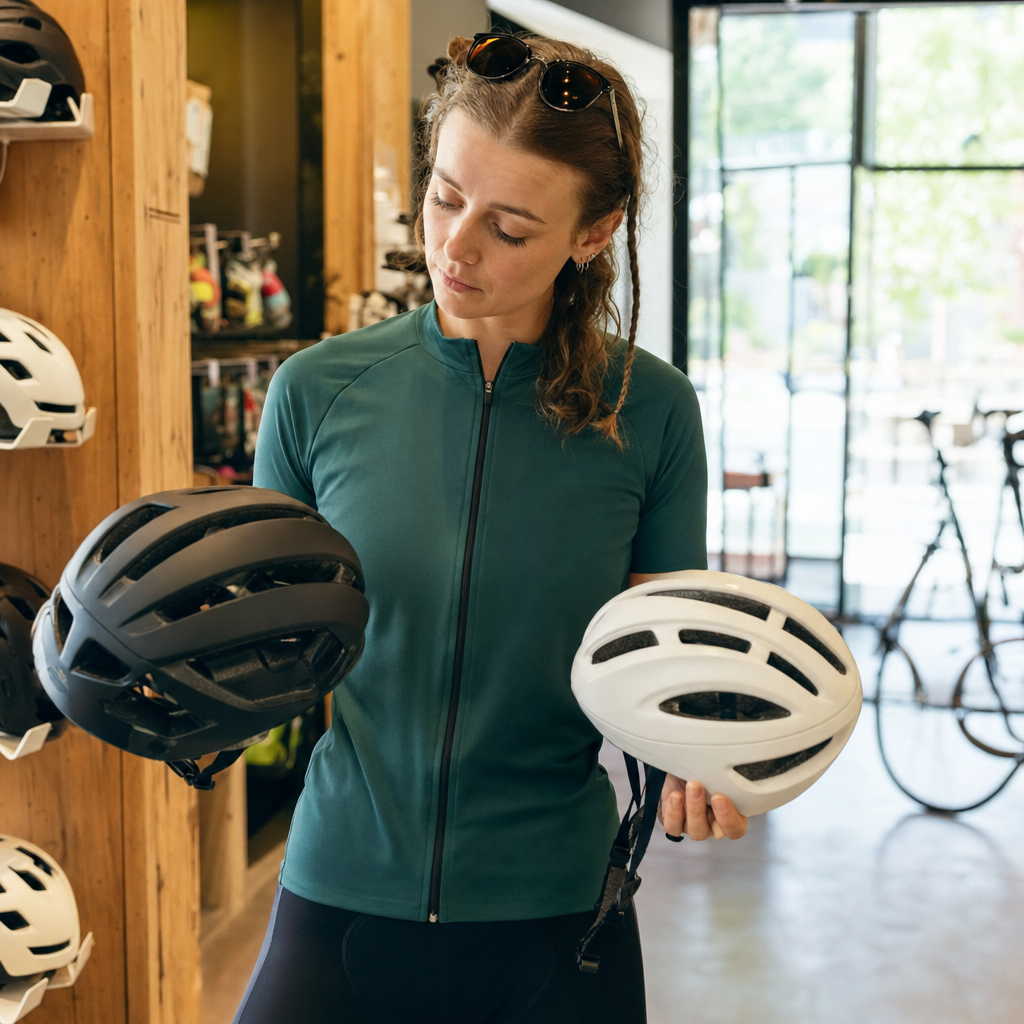
Gate 1: Do the size and shape fit without excessive tightening?
For now, set ventilation and MIPS aside for both candidates. The first question is not which offers more features, but whether either is suitable in size and shape at all.
Measure your head circumference using the pictorial or written instructions from the manufacturer of the specific model. Do not take the exact measurement path from a random image, and repeat the measurement if the result is unclear. Record the result in the unit used in the size chart. An S, M or L label alone, without a numerical range and measuring instructions, is not enough. Request missing information from the manufacturer or retailer.
Also check that the chart applies exactly to the model and variant being compared. Then carry out three separate checks:
- Range in the size chart: Compare your measurement with the chart for the exact model, not the label on an old helmet or from another brand. If it falls on the boundary or overlap of two permitted ranges, do not automatically choose the smaller or larger option. Keep both for an in-person trial.
- Shape without localised pressure: Two helmets carrying the same M label can feel different on the same head. One may press at a particular point while remaining loose elsewhere. Another may fit more evenly without the adjustment mechanism being at its limit. Do not assume an uncomfortable area will resolve itself over time.
- Stability, adjustment and straps: Put the model on according to its instructions and check whether it can be adjusted without excessive tightening, significant movement or painful pressure. The adjustment system should allow the necessary fine-tuning, and the straps must be routed and fastened as specified by the manufacturer. Do not use the straps to conceal a mismatch between the shell and your head.
This is not a universal safety test. When adjusting the helmet, the instructions for the specific model take priority. Use them for the helmet position, strap routing, sequence of adjustments and any fit checks. If guidance is missing or you do not understand it, do not regard suitability as confirmed.
The outcome of this gate is simple: a confirmed mismatch in size, shape or adjustment means ruling out the model. If the chart includes your head circumference and trying it according to the instructions reveals no pressure point, excessive looseness or need for maximum tightening, the candidate can move on to documentation checks.
Gate 2: Can the safety standard be evidenced for the market where you are buying?
After trying it on comes a different type of check. Look for a specific standard identifier in the product information, rather than a general promise of safety. Try to find the same information in the manufacturer’s documentation, and note its exact wording and source. Once delivered, compare it with the helmet’s physical marking according to the instructions for that model. Do not infer the appearance or location of the marking from other products.
Two anonymous descriptions illustrate the difference. The first states “meets standard [specific identifier]” and includes documentation in which the information can be found. The second only claims “tested”, “safe” or “meets high standards”. The first provides a verifiable trail, not an automatic legal or technical conclusion. The second does not even provide that.
For cycling helmet safety standards, you must also confirm whether the stated identifier is relevant to the country or market where you are buying. Do not assume that one standard is required or sufficient everywhere. Such a conclusion must be based on current official information for the relevant market, not a retailer’s wording or the similarity of a marking.
Without an authoritative source, do not infer the scope of testing, legal validity or level of protection from a marking. If the product listing does not state the identifier, mark the model as unverified and request documentation from the partner retailer or manufacturer. A photo, technology logo or general statement about safety does not replace missing information.
Documented information confirmed for the relevant market allows you to continue. Missing or unclear information remains an unresolved gate until you confirm it.
Riding branch: what to check for road and mountain bike helmets
Once you have verified the basics, replace the question “road or mountain bike helmet?” with the more practical question: “What must this specific model handle on my rides?” List your predominant surface, riding position, usual route length and the equipment you use. Let the category name be only a first filter, not the final verdict.
Do not assume that a road label means a particular shape or that a mountain bike helmet automatically provides a certain amount of coverage. Models vary, so check the same areas for each candidate:
- Coverage: Compare the amount of coverage you prefer with what the manufacturer states for the specific model. Do not treat greater coverage alone as proof of higher protection. Assess it together with your riding position and priorities.
- Peak: Check whether it is present, adjustable or removable. Try the helmet in the position in which you actually ride. The peak should not restrict your view and should have practical value for your routes.
- Compatibility: Try the helmet with your glasses and every essential part of the equipment you intend to use. Watch for clashes when putting it on and during normal head movement. If you want to attach an accessory to the helmet, check the instructions for the manufacturer’s explicit permission and the specified fitting method.
A rider who alternates between tarmac and easy forest trails does not automatically need to choose a model labelled mountain bike. They can compare two helmets by their preferred coverage, the usefulness of the peak and compatibility with their own glasses. If a road model meets these needs and a mountain bike model restricts their view in their usual riding position, the category name does not change the result.
Rule out any model that clashes with essential equipment or a practical requirement, regardless of whether it is labelled “road” or “mountain bike”. For the others, continue with a separate comparison of thermal comfort.
Comfort branch: do not judge ventilation by the number of vents alone
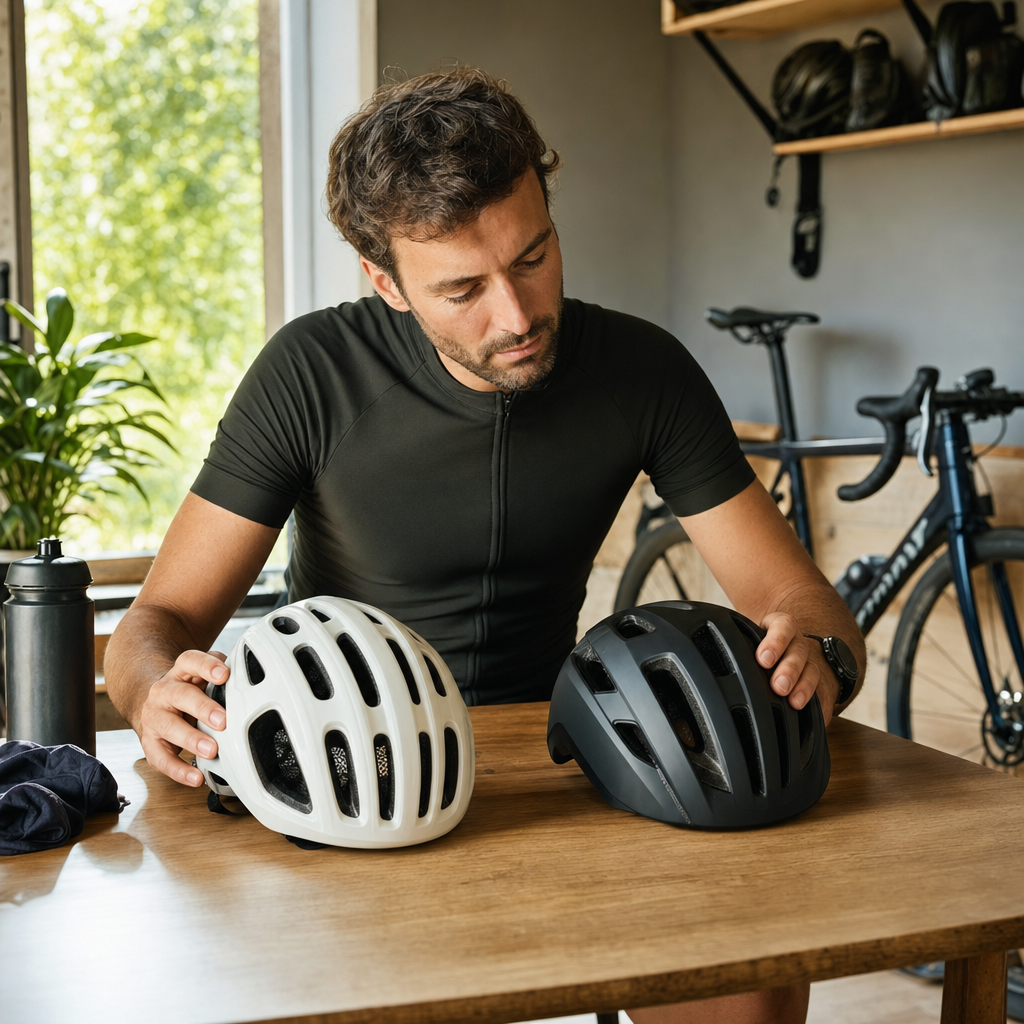
Once the design suits your routes, decide how much weight thermal comfort should carry. Base this on the typical length and intensity of your rides, the conditions in which you ride and your own sensitivity to heat. Cycling helmet ventilation for long rides may be an important priority, but it is not automatically the deciding factor.
When comparing, do not use the simple equation “more vents = better ventilation”. Vents in a photograph show only the visible part of the design. Their number or size cannot reliably determine airflow or comfort during a long ride. Instead, look in the manufacturer’s documentation for a description of the complete ventilation solution. Distinguish between a description of channels or vents and a documented measured comparison — without comparable data, it remains only a description of features.
Imagine model A with more visible vents and model B with fewer. A photograph alone does not justify calling A better ventilated. For both, compare the documented internal construction, the shape and layout of the padding, your preferred coverage and contact with glasses or other equipment you use.
If you have neither comparable data nor an opportunity for a suitable in-person trial, treat ventilation as an open question, not as grounds for an unsupported ranking. Briefly wearing a helmet can help assess padding and contact with equipment, but it does not show how you will feel throughout a ride. After comfort, one final supplementary criterion remains: MIPS.
MIPS only after the basic gates: what you can and cannot conclude
MIPS belongs at the end of the decision process. To prevent a familiar label becoming a shortcut to a safety verdict, separate three layers of information:
- Presence of the technology: Check whether the manufacturer explicitly states it for the exact model and variant. A logo in a photograph or an incomplete product name does not replace product documentation.
- Stated mechanism and purpose: The technical explanation should come from the technology holder’s documentation and must remain identified as its claim, not an independent conclusion.
- Independently investigated effect: A claim of greater protection in a particular impact would require suitable independent research and an assessment of its applicability to the specific design. Without this, MIPS cannot be presented as a guarantee of the outcome of a particular crash or as evidence of a helmet’s universal superiority.
The MIPS label also does not replace evidence of a safety standard. These are two separate pieces of information: the first describes the presence of an additional solution, while the second belongs in the earlier documentation check.
The practical question is therefore not “MIPS or safety?”, but “MIPS under what conditions in this model?”. You can include the technology among your preferences, but it should not overshadow a confirmed fit, adjustment range or compatibility.
Imagine model A with documented MIPS and model B without it. Both have already passed the size and documentation gates. When trying them on, check whether model A’s design changes the fit, usable adjustment range, contact with the padding or compatibility with glasses. If it creates a worse compromise, do not prefer it just for the technology name. If both models are equally suitable, MIPS can remain a personal preference. Compare weight, price and other differences only using current information for the specific variants.
Lifecycle check branch: crashes, damage and manufacturer guidance
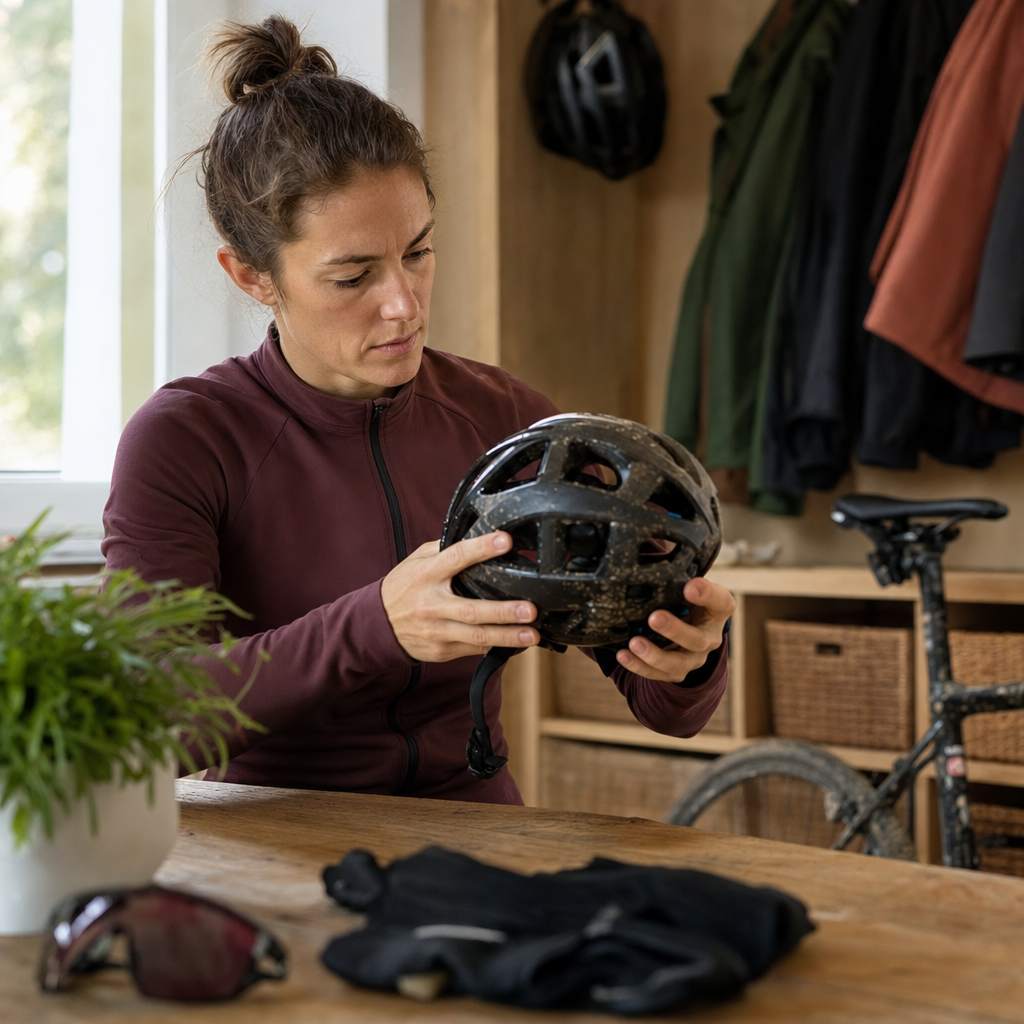
For the specific model, also check what guidance you will need during use. Check whether the manufacturer provides instructions linked to the exact model or product range, rather than only a general helmet page.
- After a crash or impact: Find the manufacturer’s procedure for inspection and deciding whether to continue using it.
- In the event of damage or unusual wear: Check which signs the instructions address and whom to contact if you cannot assess them.
- During its service life: Look for the information or conditions specified by the manufacturer for that model. Do not use a universal number of years or impact severity as a general threshold without relevant documentation and authoritative guidance.
If a helmet does not appear damaged after a crash, do not treat that impression as confirmation that it remains suitable for use. When deciding when to replace a cycling helmet after a crash, look for guidance for the exact model and appropriate authoritative advice. If guidance is missing or unclear, request documentation from the manufacturer, its support team or a partner retailer. Your own verdict based on a photo or memory is not a substitute.
Keep the instructions and model identification. Note the exact model and variant designation so that you do not later look for instructions for a similar but different helmet.
Three comparison outcomes: rule out, try on or compare further
After all checks, do not assign candidates a single overall score. Give each one a specific next step based on the gates it has passed.
- Rule out: Candidate A is outside the confirmed size range, its shape does not fit when tried on, or it clashes with essential equipment. Attractive comfort features do not change this mismatch.
- Try on and verify further: Candidate B appears usable according to the chart and documentation, but a photograph cannot reveal pressure points, stability, strap routing or subjective comfort. If evidence of the standard is missing, the gate remains unresolved. An in-person trial does not replace it.
- Compare further: Candidate C has passed the basic checks. Only now should you decide between it and equally suitable models according to your riding, ventilation, coverage, compatibility, MIPS and other preferences.
Before ordering, confirm the following once for every remaining model:
- the size chart, measurement method, selected size and adjustment range,
- the specific standard identifier and its relevance to the market where you are buying,
- the features of the exact model and variant, including lifecycle guidance,
- the opportunity for an in-person trial or the returns terms at the specific partner retailer.
Use the information available in Zoneo’s comparison to narrow your choice, not as a substitute for missing documentation. Always check the current price, availability, delivery, completeness of specifications and retailer terms on the product listing or directly with the partner retailer.
Your choice does not have to end with a universal winner. The right outcome can also be ruling out an unsuitable model, arranging an in-person trial or confirming the last missing detail before comparing further.