
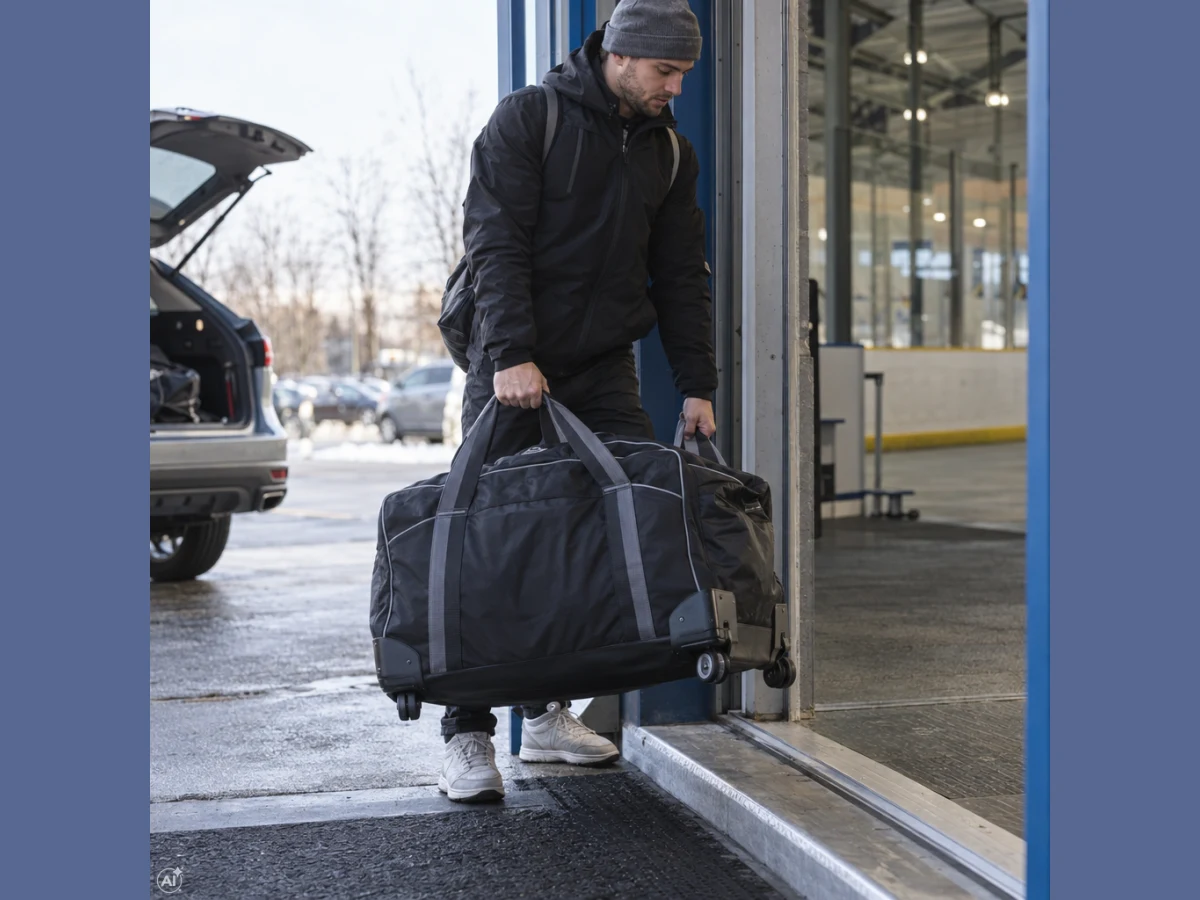
Along a long, level corridor, pulling a full wheeled hockey bag may be more comfortable, but you still need to lift it on stairs or when loading the car. The right type is therefore not decided by one factor, but by the whole journey of your gear, from packing to drying. Go through it step by step and turn every practical issue into information you can check before buying.
Before packing: the hardest part of the route decides whether you need wheels
First, divide the journey from where the bag is stored to the changing room into sections where you pull, carry or lift it. Include the trip to the car or stop, boarding public transport, the surface type, thresholds, stairs, narrow doors and every time you load or unload it. The decisive section may not be the longest one, but the one that is hardest to manage with a full bag.
For each section, ask yourself three questions:
- Can you pull the bag continuously, or do you have to carry it?
- Is the surface level and the route clear enough, or will you face thresholds, stairs and tight turns?
- How many times will the bag need lifting, and who will actually do it?
If a longer, level transfer predominates, for example from a more distant car park to the changing room, a wheeled model can reduce how much you need to carry it. A short route with several stairs, high thresholds and repeated loading changes the priorities, however: easy handling, controllability while carrying, and whether a sturdier base will get in the way during handling become more important. A hockey bag without wheels is therefore not automatically less practical; it depends on the balance between pulling and lifting.
For wheeled models, do not judge the design from a photograph alone. Check the wheel placement and construction, the base design and the handling method specified by the manufacturer in the product listing or with the retailer. Check the number, position and length of the main handles: they should be usable when lifting from the ground, carrying up stairs and putting the bag into the car. The pull handle is equally important — its position and design must suit the person who will handle the bag most often.
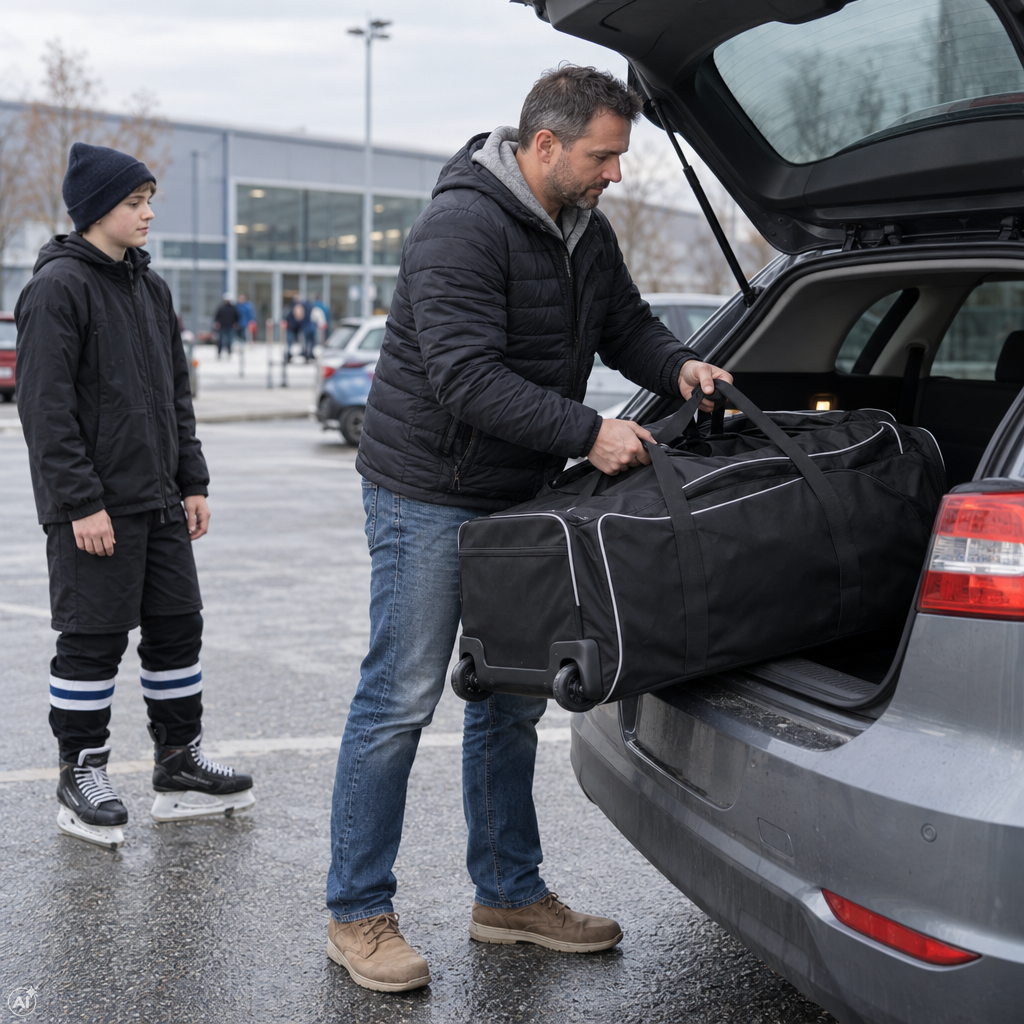
For junior gear, consider two different situations. A junior wheeled hockey bag may be manageable for a child on a level surface, but a parent may regularly have to lift it into the boot or up stairs. Therefore check that the pull handle is usable for the child and that the carry handles are positioned suitably for an adult. A junior label alone does not say who will find the bag easy to handle.
Once you have ruled out the type that does not suit the route based on its most demanding section, you can address the next question: what must fit in the bag, and what spaces must it pass through?
Packing: measure the gear, car and storage space
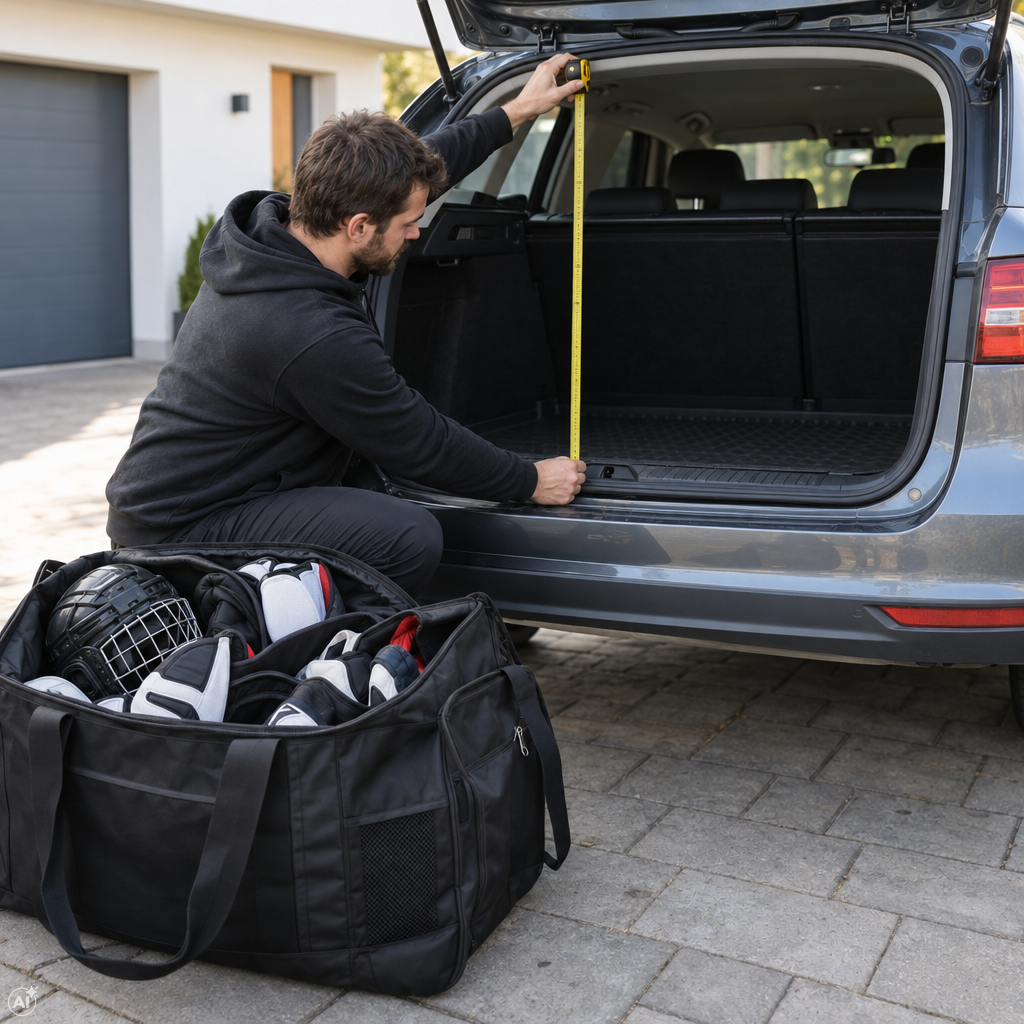
Once you know how you will transport it, measure both the load and the spaces that limit it. For the question “what capacity hockey bag do I need?”, litres alone are not enough: they do not show the entrance width, the shape of the main compartment or whether rigid, irregular pieces of gear will fit through the opening.
- Prepare the actual load. List and lay out everything you normally take to training or a match, including your helmet, protective gear, skates and clothing. Do not add anything just “in case”, but do not forget small items that are part of every trip. When choosing a player’s bag, leave hockey sticks out of the measurements; goalkeeper gear requires separate consideration.
- Create a realistic bundle. Arrange the gear roughly as you intend to pack it, without forcibly compressing rigid parts. Measure the length, width and height of the resulting bundle. Then check not only the bag compartment dimensions, but also that the entrance is wide enough and the interior shape is practical. Extra room should make loading easier, not compensate for unknown internal dimensions.
- Measure the car boot opening. Clear floor space in the boot is not enough. Measure the opening, internal height and space in the orientation in which the bag will actually be stored. The bag may have enough room on the floor, but its height, rigid base or a component that cannot be compressed may prevent it from passing through the opening.
- Measure your storage space at home. Check the doors, shelf, cupboard or recess that the bag must pass through or where it will be stored. When considering external dimensions, include the wheels, rigid base, handles and other protruding parts. Also check whether the manufacturer states that it can be folded; do not assume this from a photograph.
A junior or adult label alone does not determine the right hockey bag size: the specific gear and available space are what matter. When comparing, look for external dimensions, available internal dimensions and main opening dimensions. If a key detail is missing from the product listing, confirm it with the partner retailer instead of estimating from a photograph or stated capacity.
After ruling out options that are unsuitable in size, the next step is to assess how easily gear can be packed into and removed from the main compartment.
In the changing room: compartments should improve access, not restrict the main compartment
Once the bag fits dimensionally, imagine opening it on the bench: what do you take out first, and what do you not want to rummage through the whole compartment to reach? Practical compartmentalisation for hockey gear does not start with the number of pockets, but with the order in which you pack and unpack. A wide, well-positioned main opening is especially helpful for rigid and irregular items.
A player who wants skates and small items immediately to hand may use separate side compartments and a smaller pocket. However, check their internal dimensions, opening size and fastening method. A “skate” label does not yet mean that a particular pair will fit without forcing it in, or that it will be easy to access when the main compartment is full.
For bulky gear, one flexible compartment may be more advantageous. More separate sections improve organisation, but rigid dividers also take space away from protective gear and other items that do not pack into a regular shape. In the product listing, therefore check whether dividers are fixed, removable or adjustable; if this is not stated, do not assume it.
Make a simple trial plan: assign specific contents to each compartment, then check that there is enough room for the bulkiest item and that you can reach skates, tape, spare laces or personal belongings without unpacking half the bag. A compartment without a clear use is more of a limitation than an advantage.
A separate space for used clothing can keep the contents more organised on the way home, but it only solves organisation. In the next comparison, establish whether and how that section is ventilated, and what will happen to the gear after you return.
After returning: assess ventilation features together with your drying plan
For a separate space for used clothing, do not ask only whether it exists, but also how air can flow into it. The same applies to the main compartment. In the product listing, look for the type, position and extent of openings, mesh panels or ventilated compartments. One photograph may not show whether the entire bag or only a particular pocket is ventilated; confirm any missing detail with the partner retailer.
A ventilation feature alone does not mean that air also circulates in a closed, full bag. A panel pressed against a wall, covered by other luggage or tucked into a tight recess has no free access to air. Ventilation is therefore not a guarantee that the contents will dry.
When comparing, answer the following:
- What is ventilated? The main compartment, a separate section or both?
- Where are the ventilation features? Will they be covered during normal storage by a wall, other luggage or the side of a recess?
- Is the compartment accessible? Can it be opened easily and emptied completely after returning?
If a panel is only by the skate area or used-clothing space, do not automatically apply this feature to the main compartment. Even a hockey bag with gear ventilation may have only one specific section ventilated.
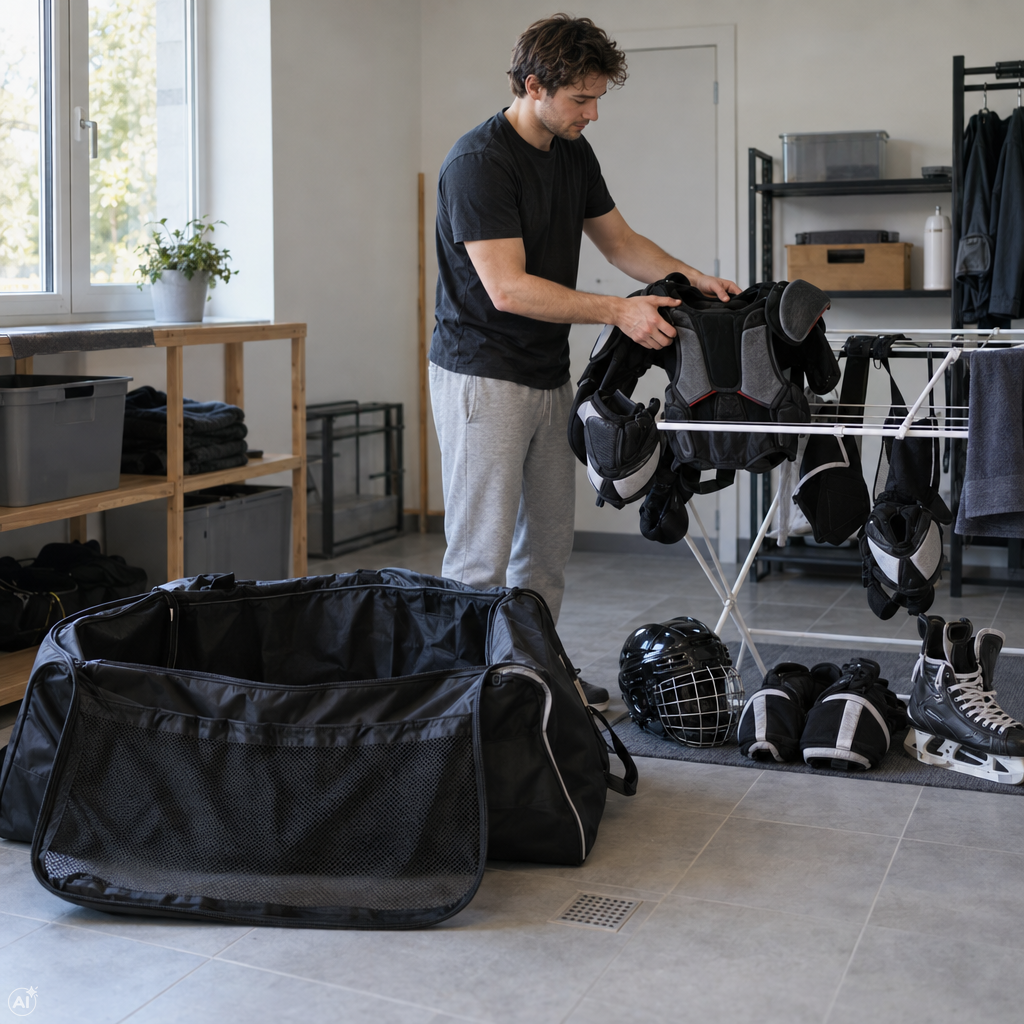
Assess hockey bag ventilation together with the place where you unload your gear. There is a difference between a bag with a visible panel crammed into a storage recess and the same bag fully open in a place where the contents can be removed and dried separately. Once you know that space, you can establish a simple routine after each return.
At home: a simple routine for cleaning, airing and storing
At the place designated for unloading gear, follow the same order every time you return. If you link the steps directly to unpacking, you are more likely to notice a forgotten item and the condition of the bag itself.
- Unpack everything. Remove gear, clothing and small items from the main compartment and every pocket. Open all sections and inspect the base and corners, where loose dirt may have remained.
- Check the instructions first. Remove loose dirt appropriately, but check the label or manufacturer’s instructions before further cleaning. Do not use machine washing, harsh products or a specific wet-cleaning method unless the manufacturer expressly permits it. If the label is unclear, confirm the exact procedure with the manufacturer or retailer.
- Air the empty bag. Leave it fully open, including separate compartments, until it is dry. When choosing, also allow for a place where it can remain like this without blocking a passage or access to storage space.
- Store it only when dry and empty. When storing a hockey bag, do not fold or compress it simply to fit it into a smaller recess. Any ability to fold it must match its construction and the manufacturer’s instructions.
- Inspect high-wear parts. Check the base, zips, main handles, pull handle and, on a wheeled model, the wheels as well. Watch for visible damage or looseness and follow the manufacturer’s instructions rather than a universal servicing interval.
This routine also shows how much space a particular bag needs for unloading, drying and storage. Include the same requirements in the final comparison rather than addressing them only after purchase.
Before buying: a two-stage decision and data check
Now use the findings from the entire gear journey as two consecutive filters. The first rules out an unsuitable bag type; the second checks whether the specific design really matches your dimensions and intended use.
- Start with the hardest part of the route. If long pulling over a suitable surface predominates, focus on wheeled models and check how they handle. If stairs, lifting and loading predominate, compare both types by external dimensions, handles and handling with a full bag. Do not choose wheels just because the journey is long, nor rule them out just because of one lift.
- Compare the remaining options against your own measurements. The bag must hold the prepared gear bundle, have a usable entrance and also fit through the car boot opening. Its external dimensions, including rigid and protruding parts, must also suit the space at home for unloading, drying and storage.
When checking the product listing, look for the following details:
- bag type and external dimensions,
- available internal dimensions, compartment shape and opening size,
- wheel and base construction,
- the number, position and length of handles, plus the pull handle design,
- the position of ventilation features and the sections they ventilate,
- compartment dimensions and their effect on the main compartment,
- whether it can be folded or compressed for storage,
- instructions for cleaning, drying and storage.
When comparing offers on Zoneo, rely only on the stated parameters. Confirm every missing critical dimension or construction detail with the partner retailer; until then, treat it as an open question, not as a reason to estimate from a photograph or age label.
First, rule out the type that does not match the hardest part of your route. Consider only options whose dimensions, handling, compartments, ventilation and storage method can be confirmed to be suitable. A suitable hockey bag must work throughout the whole gear journey, not only on its most convenient section.